Adding a User Locate
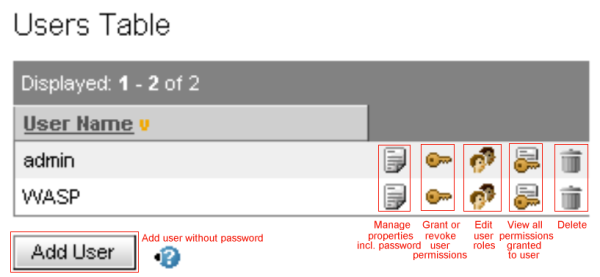
The Security tree node or Database of Identities subnode of the Administration Console loads the Database of Identities form. It includes the Users Table in the lower part of the form. You can delete users directly from this table. It also has links to forms for viewing or editing permissions and editing roles and properties. Beneath the table is a button for adding a user, as is shown in Figure 3.
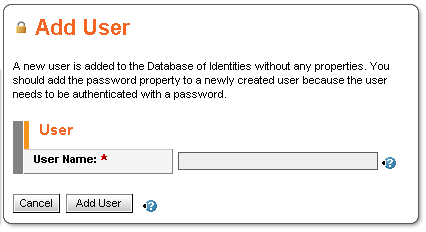
Click the Add User button and create a new identity, as shown in Figure 4. In our example the name of the new identity is "test."
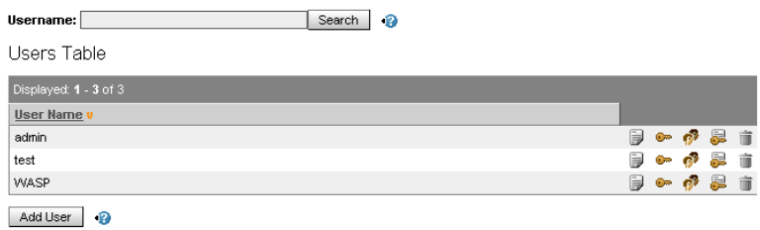
Click the Add User button. This returns the Database of Identities page. In our example there is a new entry in the Users' Table for the user name "test," as shown in Figure 5.
To add a password for an identity, click the Properties link in its row, as highlighted in Figure 3. These are the steps for adding the password "abcd" for our "test" identity:
Click the Properties link in the "test" row. This returns the User Details form, which includes the Properties table, a list of all the user's properties. There are no properties for "test."
Click the Add Property button at the bottom of the form. This loads the Add Property form, which includes a table of the properties you can add to the user: password, X509 Certificate Chain and X509 Certificate.
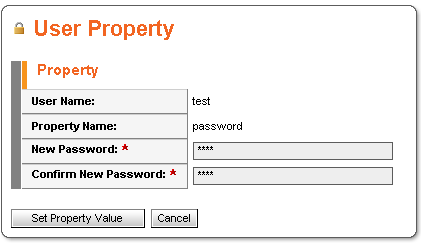
Click the Select link to the right of Password in the Add Property table. This returns the User Property Password screen.
Type the user password in the New Password field and again in the Confirm Password field. Then click Set Property Value. In our example, we have filled in the password for "test" with "abcd", shown in Figure 6.
A password-protected identity has now been created. We will use the "test" identity in the following sections of this chapter.