The AuthorizationPolicy - GUI Version Locate
The WSO2 SOA Enablement Server Authorization Policy Tool, AuthPolicy, is a GUI tool that sets permissions for users, also known as principals. There are several types of predefined permissions authorizing users for particular tasks. Global permissions can also be set with this tool.
Running AuthPolicy Locate
This tool is located in the bin subdirectory of the WSO2 SOA Enablement Server distribution. To start the Authorization Policy enter AuthPolicy.bat at a Windows command line or./AuthPolicy on UNIX systems.
The following optional attributes can be used:
--file auth_policy_file
Work in local mode; work with this authorization policy file.
--help
Prints out help screen.
--version
Prints out version information.
Opening Policy File / Admin Service Locate
The Authorization Policy GUI Tool can be run either in local or remote mode.
If WSO2 SOA Enablement Server is running on the local machine, you can edit the policy by selecting Open File and choosing the file /wasp/conf/wasp.policy.
A second possibility is to log in remotely to the WSO2 SOA Enablement Server running the Admin service. Choose Open Admin Service from the File menu to do this. These commands return the dialog shown in Figure 13
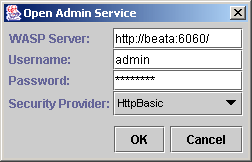
If you leave the username field blank, the application will attempt to skip authentication to the server. This will only succeed if WSO2 SOA Enablement Server was installed without security. Otherwise, you must specify the username, password and security provider.
![[Note]](images/note.gif) | Note |
|---|---|
For a new WSO2 SOA Enablement Server installation, the default username is admin and the password is changeit. | |
Adding and Removing Users Locate
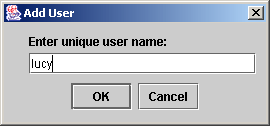
The User Menu is shown in Figure 14.
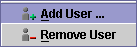
Each user has a name that is unique in the list. New users can be added to the list, or existing users can be removed from the list, using the User menu or context pop-up.
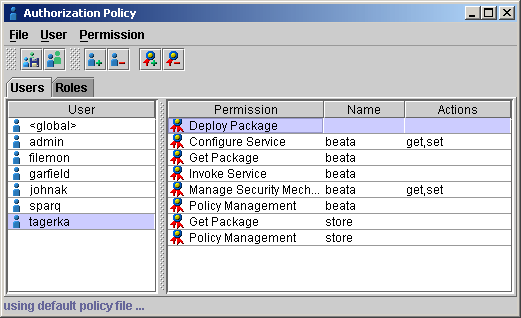
Adding and Removing Permissions Locate
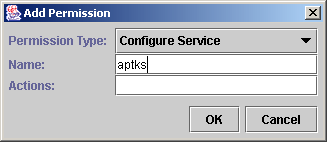
Every user has a set of assigned permissions. For the selected user, new permissions can be added or existing permissions removed using the Permission menu or context pop-up shown in Figure 16.

To learn more about permission descriptions, see Permissions and Roles.
Depending on the type of permission chosen, it can be given a name or name and action string parameter(s). The action string can be filled in only if the name is supplied.
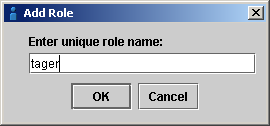
Adding and Removing Roles Locate
Roles simplify policy management by grouping common user permission profiles together into roles, which afterward can be assigned to users. The Role Menu is shown in Figure 18 .
Each role has a name that is unique in the list. New roles can be added to the list, and existing roles can be removed from the list, using the Role menu or context pop-up.